Convert to Image
The Convert to image tab is used to convert a mapping into an image.
To insert an image, you have to convert a mapping's value to an image. There are different ways to do so:
|
Method Name |
Description |
|---|---|
|
Asset |
Use a value from the assets folder. |
|
Asset look up |
Link each value to a different image from the assets. Depending on the value, a different image is shown |
|
URL |
Get the image from the internet |
|
Fileshare |
Retrieve the image from the Smart Flows server |
|
Binary encoded |
The image is stored as a base64 string |
All of these are accessed from the same place: the Convert to image tab in a mapping's formatting tab.
Make sure to check the box, as this unlocks the controls you need to configure the conversion.

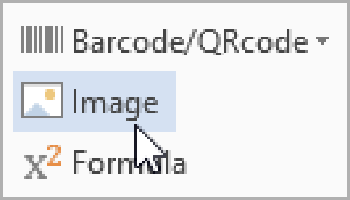
In addition to going to an existing mapping and selecting Convert to image, you can select anywhere in the document and then select Image in the ribbon. This will create an empty mapping with the Convert to image option enabled:
Supported image types
Smart Flows supports PNG, JPG/JPEG, BMP and GIF.
Assets
Assets are images that you can add to your project. These images can then be used in all of your templates.
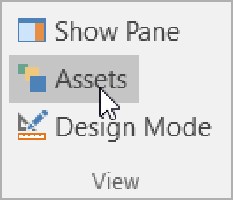
To access your assets, select Assets in the ribbon:
This opens a browser window/tab with the Project Console where you can log in to your project (unless you are already logged in). You are automatically taken to your project's assets:
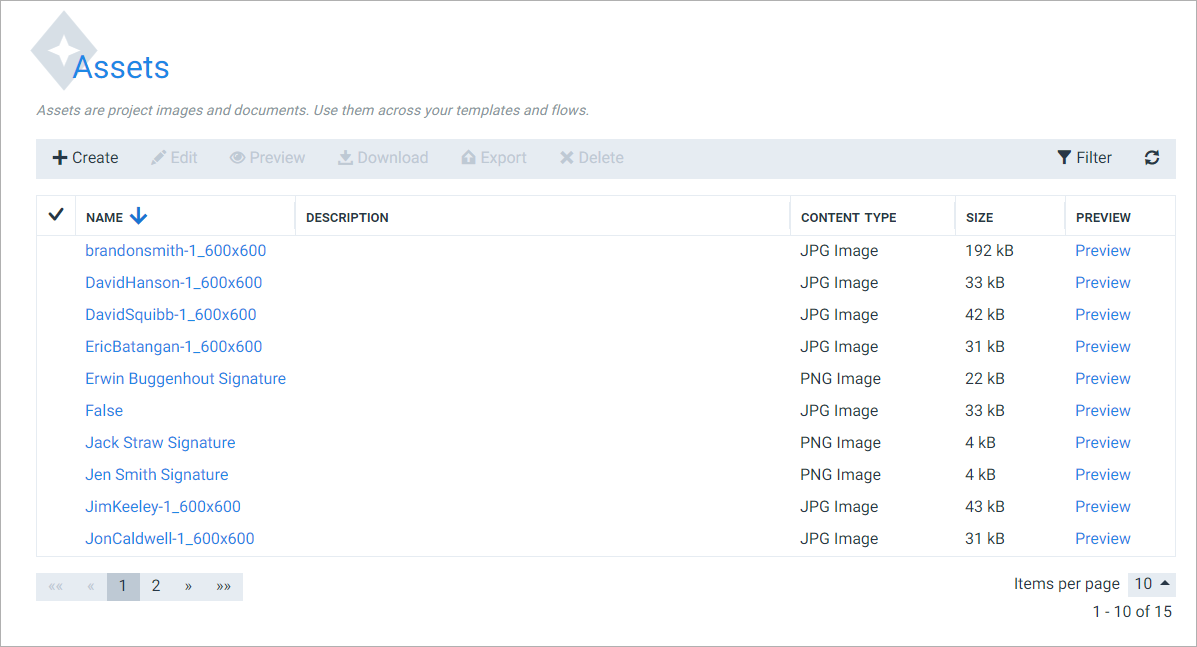
This is the place to manage your assets.
More information about assets in the Project Console can be found here.
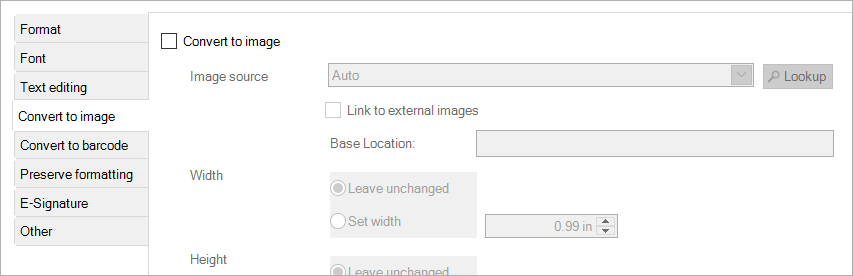
Options
The tab offers a few options:
- Image source specification: here you choose how to convert the mapping's value into an image.

- Image source: the method used to convert the mapping value. All of the presented options are further explained below.
- Link to external images: see URL (below).
- Base Location: the prefix that will be added to the mapping's value. This is useful e.g. when your mappings contain the names of the images, but not the location. Instead of adding the location in an expression, followed by the mapping's value, you can specify it in the Base Location. (an example of this can be found in URL below)
- Height/Width: here you specify the height and width of the image. Leaving this unchanged means that you leave the image as is.
- Aspect ratio: check to keep the aspect ratio intact when setting width or height.
- Description: set the hover-over text.

Auto
This option will force Smart Flows to guess the correct image source specification.
It is not recommended to use this option unless you cannot be sure how the data is formatted.
File in folder
This option allows you to retrieve an image from the Smart Flows server.
The most important thing here is that you define your image location correctly. Your mapping should contain the location with double backslashes , such as C:\\temp\\sss.png . If you do not have the location in your data set, then you can use an expression to get the image. In the expression window, you need to enter the location between apostrophes :

Note that these apostrophes are not needed when the value comes straight from a mapping.
Asset
This option allows you to use one of the images in the assets in your template.
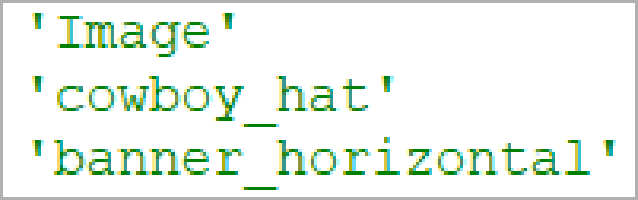
The field's value should be an expression of the following form: 'assetname'. A few examples:
The names of the assets can be seen in the assets table in the Project Console.
If you want to type this in an expression yourself, you should switch the mapping from a field to an expression. This is done in the General tab:
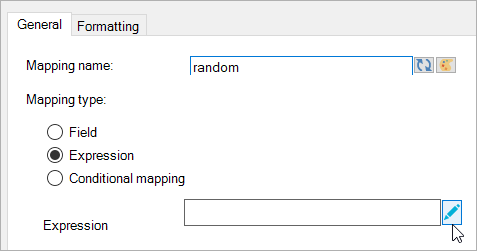
Select the pencil to bring up a window where you can edit the expression.
Asset lookup
This option allows you to assign assets to certain values of your mapping. You can decide which values are linked to which image by specifying value-image pairs in a lookup table .
When you choose this option, an extra button is unlocked:

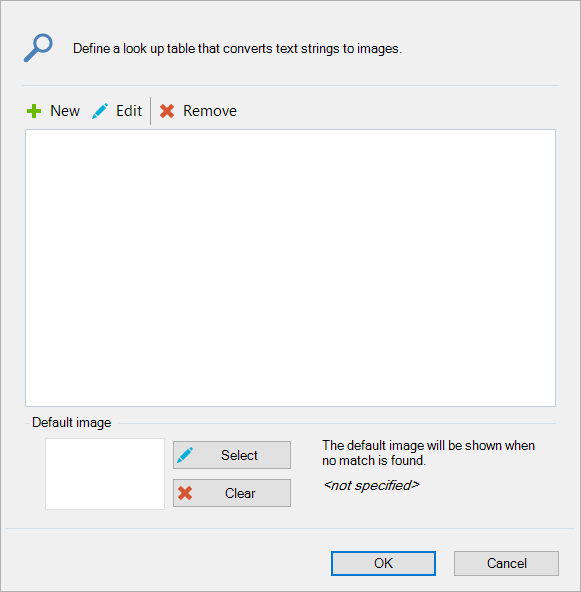
Select the Lookup button to bring up a window:
Building your lookup table
Select New to bring up a window where you can add a new value-image pair.
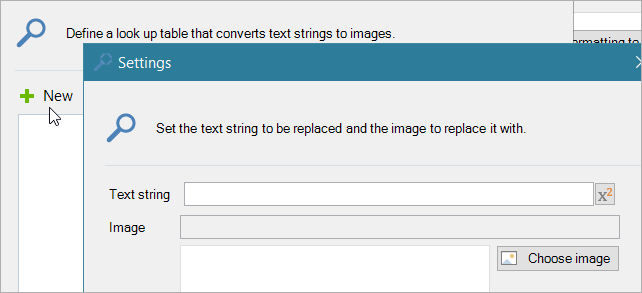
In here, type a text string or select the button to the right to insert an expression.
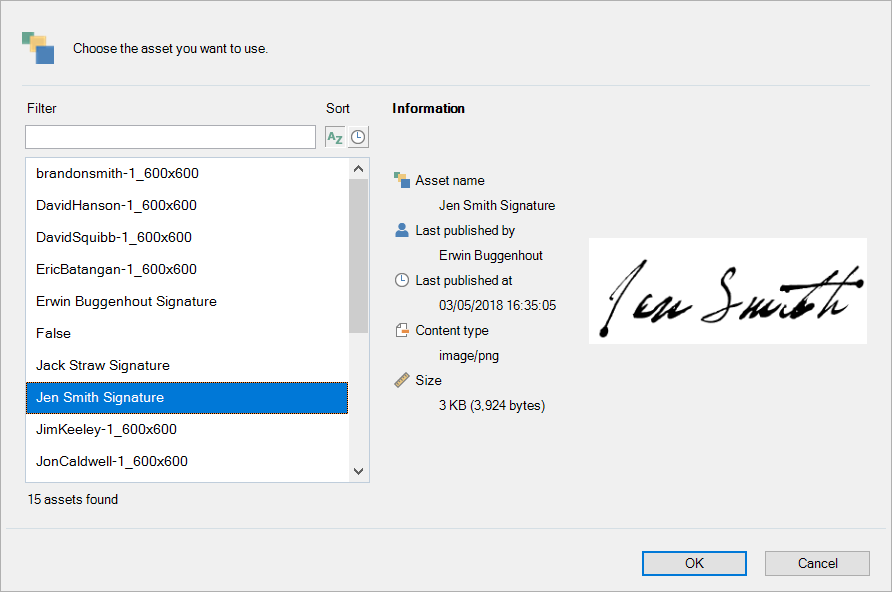
Select Choose image to select an image from the assets:
Select OK to add the value-image pair. This adds the pair to the table:

The edit and remove buttons are used to edit or remove the currently selected value-image pair.
You can use a default image which will be shown when no match is found. Select Select at the bottom:
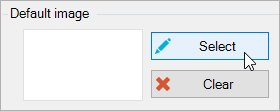
Select an image and select OK to make it the default image. You can remove it by clicking Clear.
Binary encoded
This option allows you to render a base64 encoded value as an image. You can use this when your data set includes images that are stored as a base64 string.
For more information about Base64, please visit http://en.wikipedia.org/wiki/Base64.
URL
This option allows you to retrieve an image from a URL.
If you plan on using this option, you should be aware of the fact that every time a document is generated, the image has to be downloaded. This can impact performance. If you experience severe slowdown issues, we suggest you use the assets feature.
When using URL, the Base Location can prove useful. For instance, let's say your data set contains the following values: intro.png and menu_button.png . These are two references to images, but they are not URLs. To fix this, you can add their location to the Base Location, like this: http://www.somesite.com/images/ . Now they refer to http://www.somesite.com/images/intro.png and http://www.somesite.com/images/menu_button.png .
Finally, there's a checkbox Link to external images . Checking this will insert a link to the image instead of the image itself. When the document is opened, the image will then be downloaded. This has the advantage that Smart Flows does not time out on images that it cannot access, but the downside is that the image must be downloaded every time the document is opened.
Connector
This option allows you to retrieve an image via a connector, like your SharePoint or Sugar. The connectors available in your project are listed in the convert to image dialog. The mapping should contain the path to the image. The path can be a fixed value (in that case, map a formula that contains the path between single quotes) or a mapping of a (pseudo)field.
- Microsoft SharePoint: When mapping images from Microsoft SharePoint, select the connector you want to use and provide a path to the image file location in the Microsoft SharePoint site referenced in the connector as the value of the mapping.
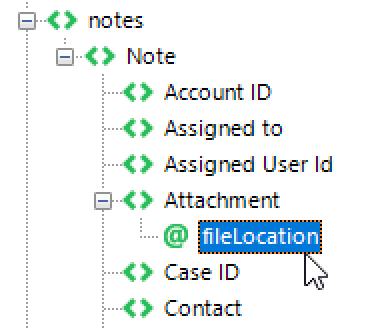
- Sugar: When mapping images that are stored as attachments to notes records in Sugar, map the (...)/Notes/filename/@fileLocation attribute of the note that contains the image and select your project's Sugar connector.
- Portal: When mapping images from Portal, select the connector as the image source and provide the path to the file in Content Manager. The path must starts with the Content Library Name, followed by the folder path. Example: "My Library/MyImage.png"
- Http(s): When mapping images from an external location accessible by a URL, you can leverage the Http(s) connector available in Smart Flows. Simply select the connector as the image source. Remember that a Http(s) connector is configured by default with a base URL. In Template Builder, you then only need to provide the remaining part of the URL.
- Filesystem: When mapping images from the file system, select the connector and provide a path to the image. Notice that this is only supported for on-premise deployment where a file system is available.